Check the time-lapse video at the end…
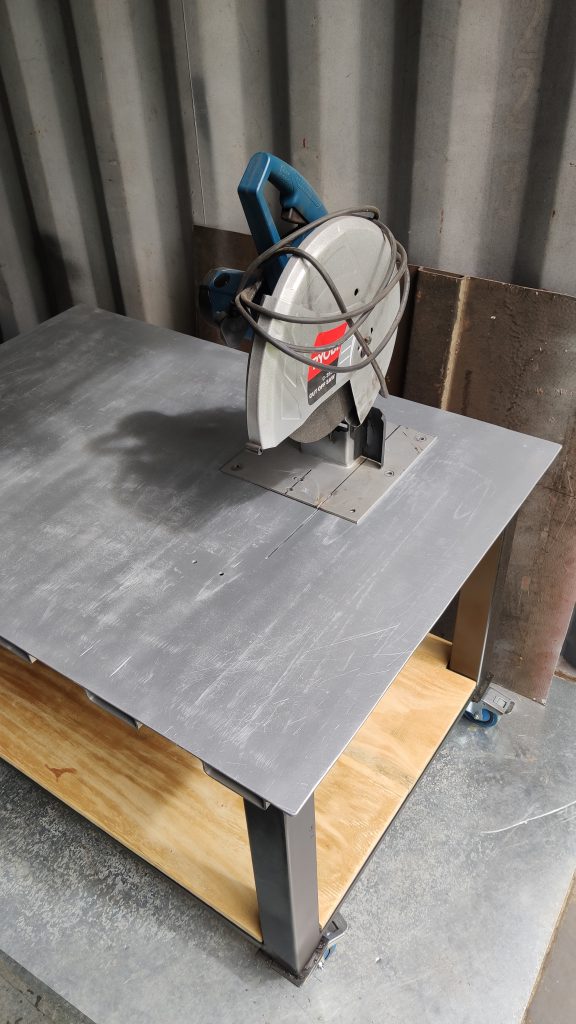
So, a bit off-topic from the container build…just after I started with cutting the steel window frames I realized I can’t do it with just an angle grinder. I needed a blade that could do one cut really straight, all the way through. Even a large grinder wouldn’t cut it 😉 and even a cut-off saw was not ideal. So I made a plan, I built my own workbench that could fit a customized cut-off saw on it and be able to clamp down the steel frames to be cut, as well as give me a decent worktop for everything else that needs to be done in future.
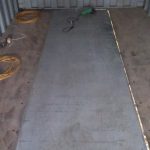
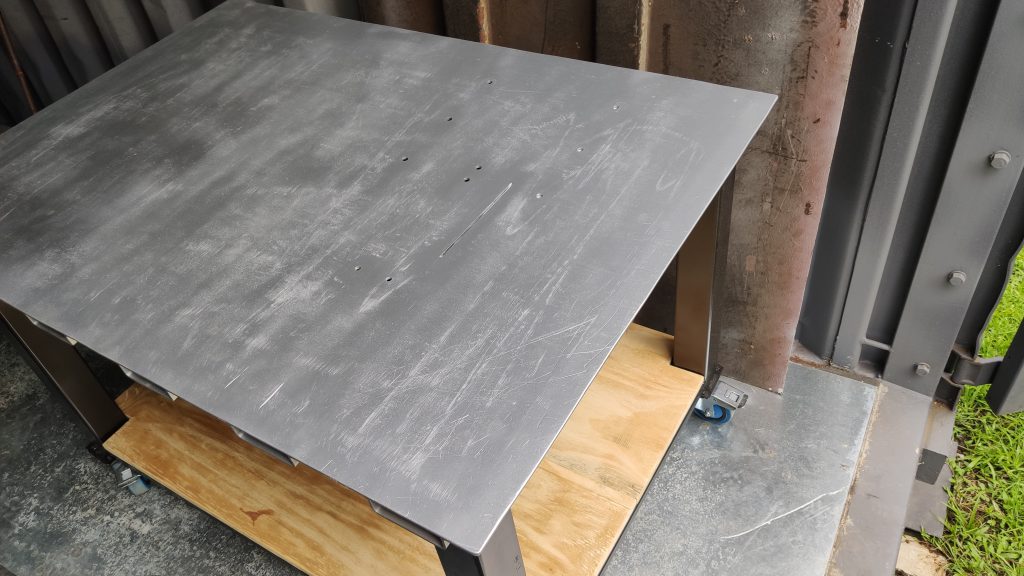
I started with part of the steel floor I had cut out of the container. It’s called the gooseneck plate, designed for certain types of trailers. See more about the floor preparation. Half of that floor became the work top.
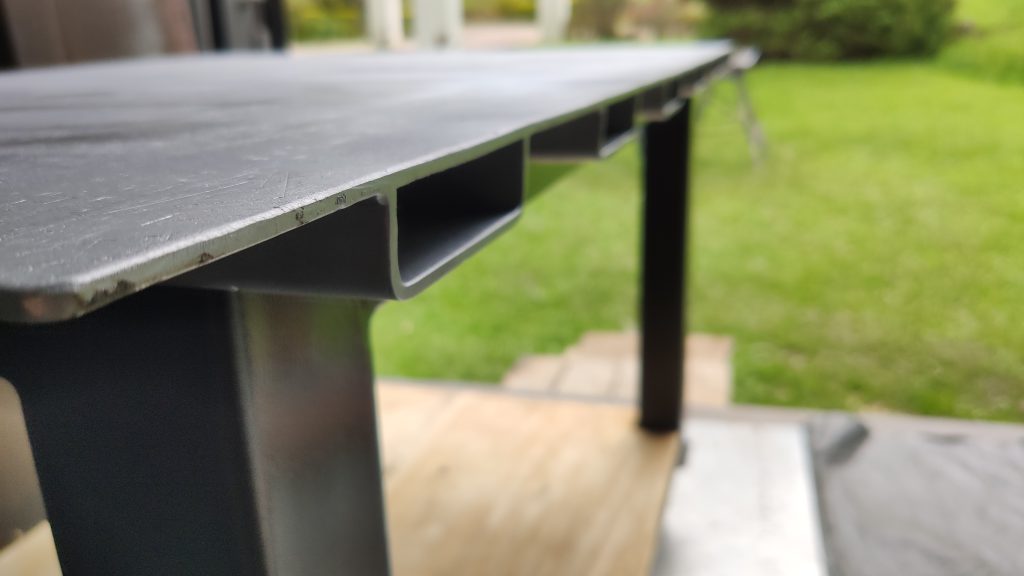
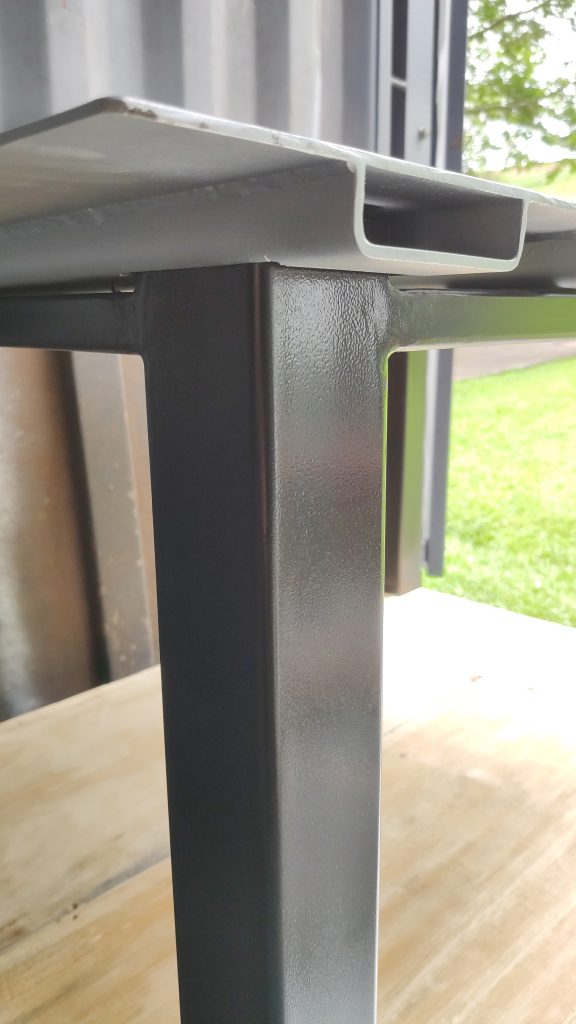
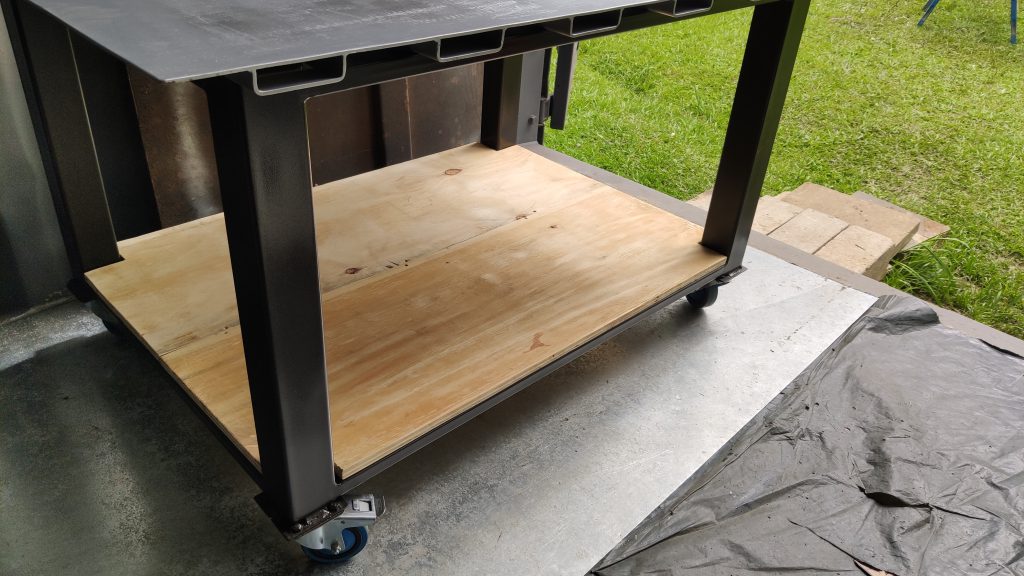
The frame of the table is made from some steel I bought from a scrap dealer who sells reclaimed steel. Welding the frame together gave me a bit of practice before I began with the window frames. Before starting this project, I had never done any welding. And the only welding I had done so far was on the base plates of the adjustable supports. I had done that using an Inverter Arc Welding machine. But after many YouTube videos I decided to try MIG Welding. It looked much easier!! So I made the table using the MIG welder – and the MIG welder is waaaaay easier and gives a much better quality finish. Still, my grinder works pretty hard after the initial welding. 🙂
Here’s a gallery of the process…


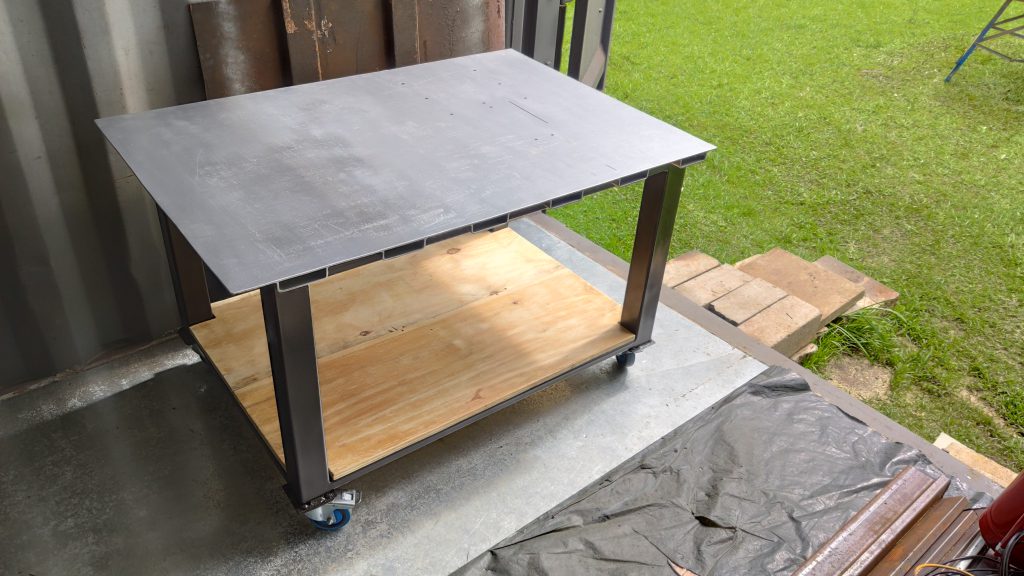
And the end product…
I love the way you made it. It is really a tough job. Hats off to you!
https://toolboxdistributors.com/