One of the things I had to do before starting on the inside of the shipping container, is to create some supports that would allow me to lift the container high enough to work underneath. I need to be able to close in the space between the floorboards and steel joists. Normally this space is open, but for insulation reasons I want to close it off. And since the ground that I’ve got the container temporarily placed on is slightly sloped, I thought adjustable supports would meet both requirements of raising and leveling the container.
I deliberated for ages trying to come up with ideas that would allow me to work under the container, and also level the container. Something that could be removed if the prospective client desires, and that would not get it in the way of the cladding that is to be fitted later. Most importantly it needed to hold up the 3.8 tons, especially while I’m underneath it!
Keep it stupid, simple…I mean,er…
In the end I decided to keep it simple. Which is what I should have done right from the beginning. So many ideas work best when it’s kept as simple as possible. As a bonus, it normally keeps the costs down as well!
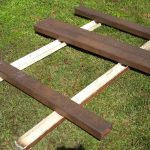
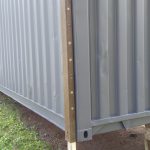
So, I decided just to get some heavy gauge rectangular tubing and bolt that to the corners of the container. Inside that could slide a C-channel section that would act as the adjustable leg. I chose C-Channel instead of rectangular tubing so that it would miss the bolt heads holding the support onto the container. The rectangular tubing and C-channel both have holes through which high-tensile bolts could be inserted to raise or lower the leg in the support.
I managed to get this steel from a steel yard dealing in reclaimed industrial steel. Basically a second-hand steel yard. Much cheaper than new steel. With the money I saved I decided to galvanize the parts since they would obviously live outside for a long time.
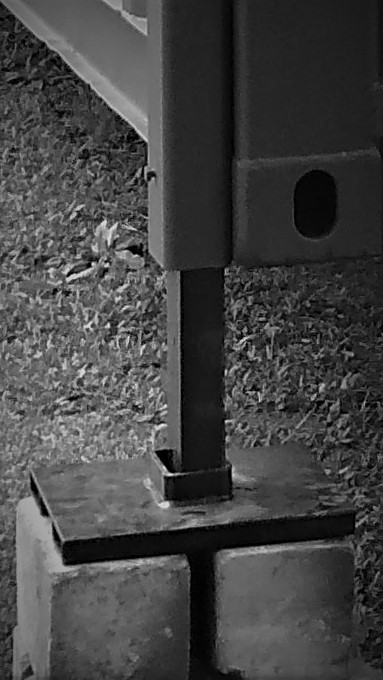
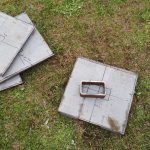
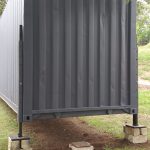
The adjustable leg stands on a base plate which I made from part of the steel flooring I cut out earlier. See Floor Preparation. I welded a short piece of the rectangular tubing onto the base plate, so that the leg and base plate would remain centered. (The leg and base plate are not welded together.)
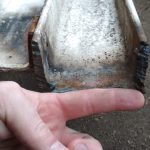
Once the pieces were cut to size, holes drilled and welding done, I fitted it to check that everything worked as planned. Drilling through the corner section of the container by the doors took some time as there were two pieces of steel, one being a centimeter thick! Probably not a problem for a drill press, but for an electric drill and my arm it took much longer! However, I eventually managed to get it fitted and jacked up. All good.
And take it all apart again
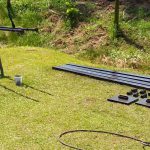
Once I checked it all worked, I took it all apart again. I sent all the pieces for galvanizing, which surprisingly was ready the next day! I’ve never had galvanizing done before, but there was quite a lot to clean up afterwards – drips and filling in of the holes I drilled.
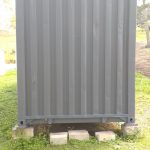
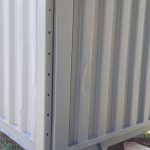
After cleaning I sprayed the parts to make it fit in with the overall color scheme I am using. So I sprayed the fitted supports the same color as the container, Volcanic Grey, and the adjustable leg and base plate got the Hammered Metal Black. These match the door hardware which is going to be reattached soon as well.
Once all the spray-painting was finished it was time to fit it back onto the container and put them to use. I’ll add a section here shortly on how I got the shipping container jacked up so that I could adjust the legs. Otherwise, here are some pictures of the process to make the adjustable legs.